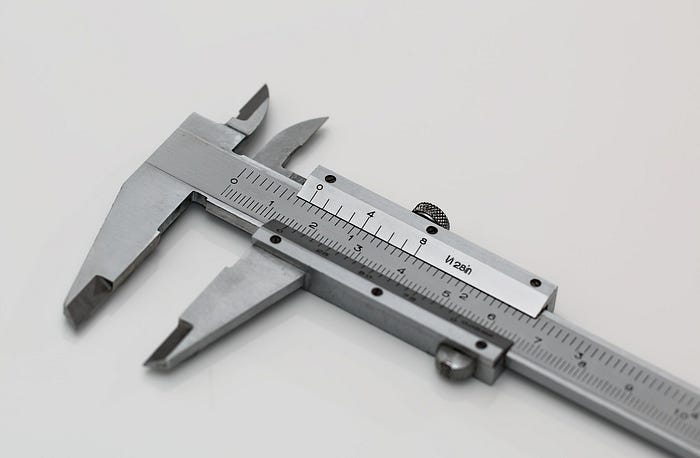

If the zero of main scale coincides with zero of Vernier scale when jaws C and D are brought in contact with each other, then the instrument is free from error. But in actual practice it is never so. Due to wear and tear of jaws and sometimes due to manufacturing defects the zero mark of the Vernier scale does not coincide with zero of main scale. It gives rise to an error called zero error. Zero error can be positive or negative.

(i) Positive zero error and its correction:
The zero error is positive when the zero mark of the Vernier scale shifted towards the right side of the zero of main scale when jaws C and D are made to touch each other. In such case, measured length will be more than the actual length and, therefore, the zero error is called positive zero error. Hence, we have to subtract positive error from the actual error. If, for example, the 3rd Vernier mark coincides with any main scale reading, then the Zero error is:
Zero error = 0.00 + 3 x Least Count = 0.00 + 3 x 0.01
Zero error = 0.03 cm
Hence, the Actual reading = Measured reading — (0.03)

(ii) Negative zero error and its correction:
The zero error is negative when the zero mark of the Vernier scale shifted towards the left side of the zero of main scale when jaws C and D are made to touch each other. In such case, measured length will be less than the actual length and, therefore, the zero error is called negative zero error. Hence, we have to add negative error with the actual error If, for example, the 8th Vernier mark coincides with a main scale reading as shown in the fig 1.4, then the Zero error is:
Zero error = 0.00 — (10–8)** x Least Count = 0.00–2 x 0.01
Zero error = -0.02 cm
Hence, the Actual reading = Measured reading — (-0.03).
